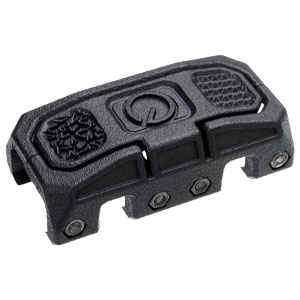
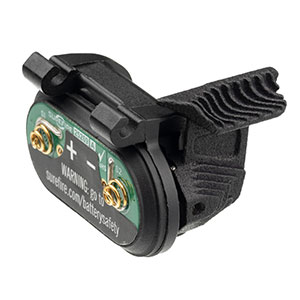
Instructions: Paddle Shifter for Streamlight TLR7-A
PLEASE READ CAREFULLY BEFORE INSTALLATION. Failure to follow these installation instructions can result in damage to the Paddle Shifter and/or weapon light.
Product Resources:
Handgun Compatibility List
Holster Compatibility List
What's In The Packaging
Qty
Paddle Shifter
2x
Hex L-Key
1x
Notes before Installation
1. Remove the batteries from your weapon light prior to the install to prevent accidental discharges.
2. Review our handgun and holster compatibility guides if you're concerned about fitment.
Step-by-Step Instructions
1. Start by rotating the bezel to the “safe” mode to prevent accidentally activating the light during install.
2. Gently apply downwards pressure on the stock paddle, and use the included L-key to punch out the pin found on the side of the tailcap, approximately 1/4” outward.
3. Slowly alleviate pressure when removing the stock paddle, and be sure not to lose the spring or plunger that are housed under the paddle.
4. Remove the plunger from the stock paddle and carefully insert into the square hole in the center of the Paddle Shifter.
5. Be sure the paddle spring is still in place on the tailcap before installing the paddle shifter. This spring will fit into the circular hole that is below the square hole housing the plunger.
6. While gently applying downwards pressure on the Paddle Shifter, carefully position it into place. Make sure that both the spring and plunger stay in place while doing so. The small loop located at the top of the paddle shifter should fit into the pin channel in the tailcap.
7. Once everything feels in place, push the pin back into place, rotate the bezel out of “safe” mode and test for function.
Having an issue with installation or need assistance? Send an email to our support staff.

