


Instructions: Paddle Shifter V2 for SureFire X300
PLEASE READ CAREFULLY BEFORE INSTALLATION. Failure to follow these instructions can result in damage to the Paddle Shifter and/or weapon light.
Product Resources:
Handgun Compatibility List
Holster Compatibility List
Installation Instructions
What's In The Packaging
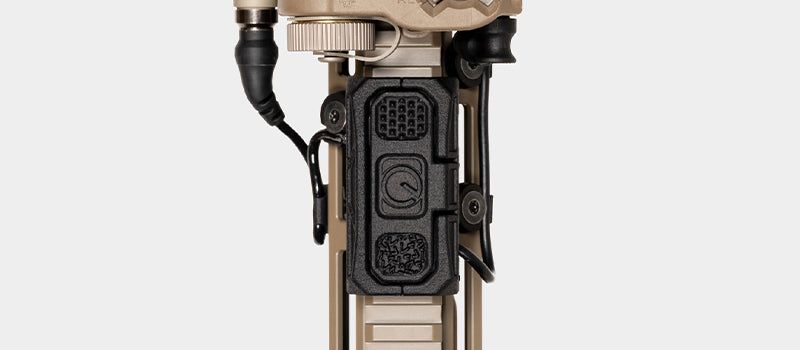
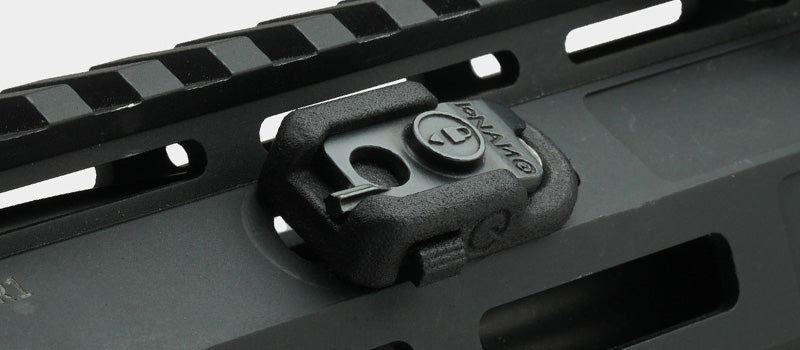
Paddle Shifter
1x
1-Piece Installation Tool
1x
Spanner Tool Bit
1x
L-Key
1x
Super Glue Adhesive
1x
Notes before Installation
1. Remove the batteries from your weapon light prior to the install to prevent accidental discharges.
2. Review our handgun and holster compatibility guides to verify fitment, or if you plan to use a Safairland 63 Series holster.
Step-by-Step Instructions
1. Start by dropping the spanner tool bit into a screwdriver. Carefully wedge the bit underneath the stock SureFire paddle and slowly rotate the tool left and right, to walk the paddle up and off the switch armature. Use caution as the metal armature holding the switch is delicate.
2. Clear any debris such as glue or dirt off the switch armeture before proceeding.
3. Slide the installation tool underneath the switch armature. This provides a flat surface to support and press the Paddle Shifter onto.
4. Push the Paddle Shifter onto the switch armature. Be sure that the Paddle Shifter is fully seated and making complete contact.
5. Release the installation tool by carefully pressing on the outside tabs and pulling the tool out.
6. Use the included L-Key to tighten the set-screw. It should be tightened one screw-turn passed flush (See video for illustration).
WARNING! Do not overtighten set-screw! This step is CRITICAL.
Remove the L-Key, and your Paddle Shifter is now fully installed.
OPTIONAL, BUT RECOMMENDED: Once you have determined you are happy with the fit and function of the Paddle Shifter, you can use the included Super Glue adhesive to provide a more permanent install. Simply un-screw the set-screw, remove the Paddle Shifter, apply a dab of adhesive, and repeat installation steps 4-6.
Having an issue with installation or need assistance? Send an email to our support staff.