





Ignition Switch for Modbutton Lite - Instructions
PLEASE READ CAREFULLY BEFORE INSTALLATION.
What's In The Packaging
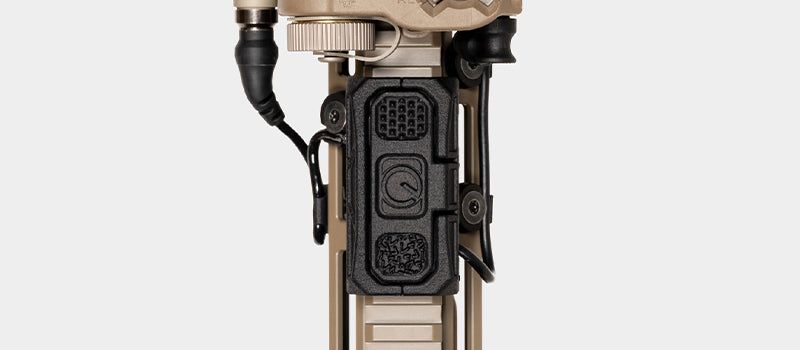
Ignition Switch
1x
Shim for ModButton Lite (optional*)
1x
Step-by-Step Instructions
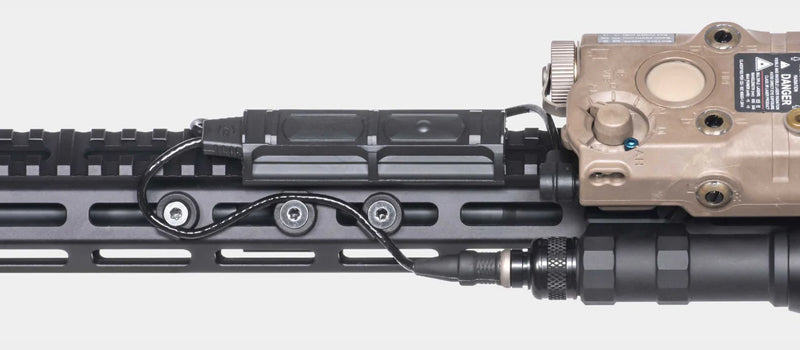
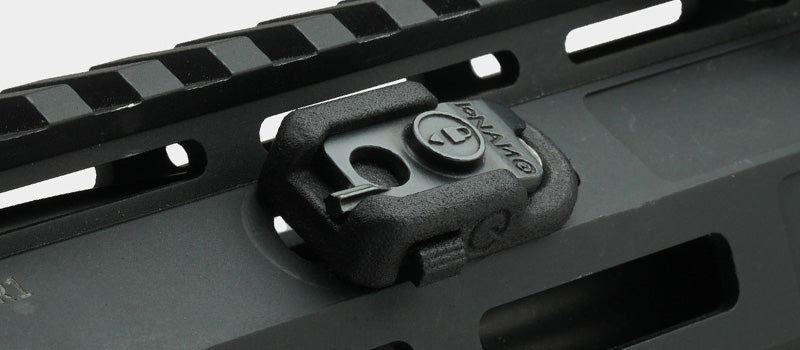
- Insert the ModButton Lite under the Ignition Switch body by setting one side flush against the walls of the switch mount surface.
- Slowly apply force to the ModButton, upwards towards the Ignition Switch until it snaps fully into place.
-
Insert the hex nuts and screws included with your ModButton Lite, placing them into the Ignition Switch picatinny rail clamp.
- Set the Picatinny mount into the desired position on your rail system by placing one side against your rail panel, then pushing down until the entire Modbutton + Ignition Switch assembly snaps into position.
- Check the function.
-
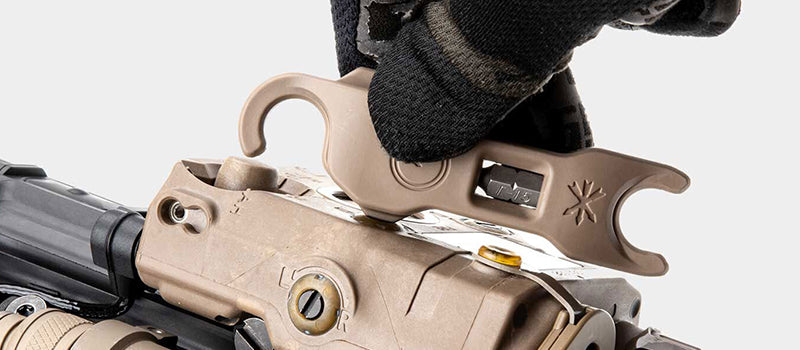
Optional: To adjust the tension on the switch, tighten or loosen the steel hex screw that runs through the activation switch body.
-
*Optional: If your Modbutton Lite does not consistently activate after installing it in your Ignition Switch and fully tightening it down on your Picatinny rail, please do the following:
- Uninstall the Ignition Switch and remove the Modbutton Lite
- Place the included shim directly onto your Modbutton Lite switch surface
- Carefully reinstall the Ignition Switch assembly. This adds additional tension to the assembly and should fix any activation issues. You may need to re-adjust both the rail-clamp screws and the switch tension screw.
- Uninstall the Ignition Switch and remove the Modbutton Lite
Having an issue with installation or need assistance? Send an email to our support staff.