press Enter to searchShowing all results:No products found.
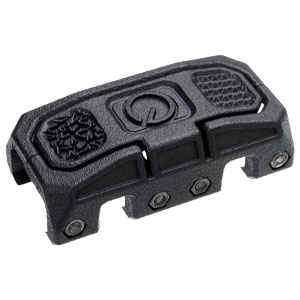
Instructions: Accelerator Picatinny
What's In The Packaging
Qty
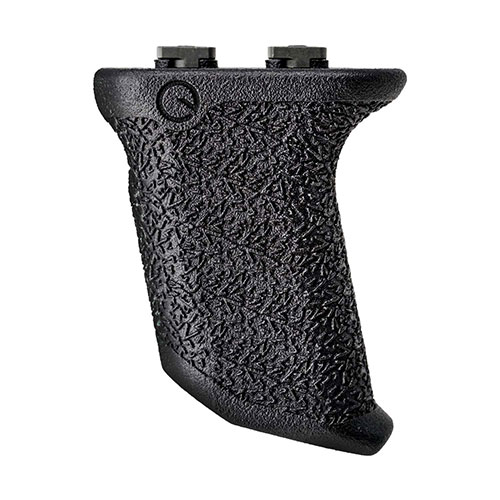
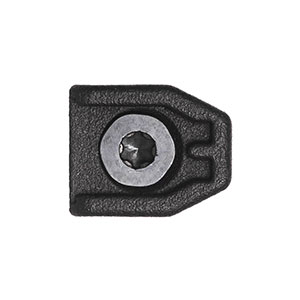
Accelerator
1x
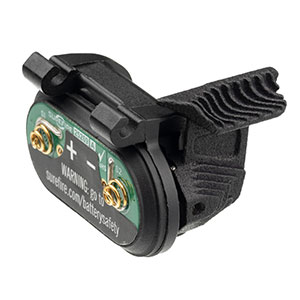
#10-24 Hex Screw (Pre-installed)
2x
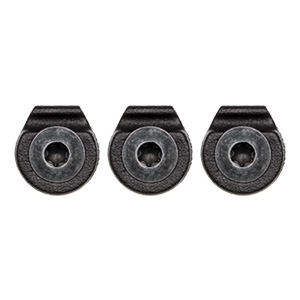
#10-24 Stainless Steel Hex Nut (Pre-installed)
2x
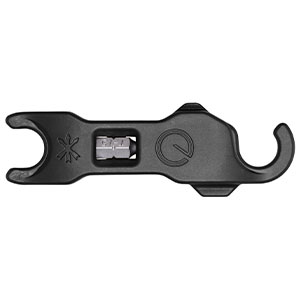
1" Hex Key
1x
Step-by-Step Instructions
1. Using the included hex key or torque-driver, remove the pre-installed screws from the Accelerator body.
2. Slide the Accelerator onto your picatinny rail to your desired mounting location. Be sure that the screw ports are lined up with the open slots on your rail.
3. Apply blue thread-locker to the screws (optional, recommended).
4. Re-install the screws, making complete contact with the hex nuts on the opposite side of the Accelerator.
5. Ensure the hex nuts are flush, fully seated and flat (not tilted in thier slot).
6. Using the hex key, tighten the screws one full screw turn.
7. Pull the Accelerator rearward (away from the muzzle). This puts your Accelerator in the optimal position to prevent movement under recoil.
8. Hand tighten the Accelerator screws to your rail system to 18-inch pounds of torque. Test fit and function.
If your Accelerator is still loose on your rail, carefully increase torque to 20 inch-pounds.
WARNING! To prevent damage to your Accelerator or handguard, do not overtighten! Do not use a power tool to install the Accelerator.